
In the mean time... let me butter you up and show you all the work that went into my show. I am going to keep the focus off the actual art (because you have to come to my show to see them!) and show you all the behind the scenes stuff.
So as you saw in the last post... I made some big huge fancy wood panels to create on.. and oooohhhh how lovely it was! They were all bigger than I am and it was so fun to dance around on them. I have never worked this big before so it was fun to go out of my comfort zone.. and freaking scary. After MANY sleepless and emotional nights I finished all my pieces... and I will tell you all about my process of how I created them soon.. just not today. :)
Once I was done with the art it was so relieving, but then a lot more work came sneaking on in. This is the part I didn't plan for. I gotta make them look all nice and professional and shiz?... whaaaat?
First step was to seal my pieces. I work in a lot of different mediums and not all are permanent, such as pastels and charcoal. Right now I have one of my past pieces in our hallway that is covered in charcoal that I haven't sealed... and Austin, like the boy he is, always rubs his fingers in it and chases me around to put black charcoal all over me... aaahh haha... no bueno. Since these are hanging in a museum and not just my house... figured I gotta make it stick! So I got Austin and his friends to help me carry my laaaaarge pieces outside so I could spray fix them and seal in all that artsy love!

Three spray cans and a very tired pointer finger later, I finished sealing in all my work.
Next was to save the sides. From painting and spraying water on it like a mad woman... a lot of paint and gunk dripped down the sids of the wood panels. So I had to paint over it. After taking waaaaay more paint chips than I should have from Home Depot and staring at them for days, I finally chose a nice warm neutral gray color to paint all the sides. I sanded and painted to cover up all the craziness and also serve as a sort of frame... and WOW it made all the difference.


Next was my least favorite part of all. Installing the hanging wire. In my earlier years of my art degree I made a wire sculpture of a butterfly, which turned out awesome.. but my poor fingers were so sad and ruined by the end of it that I vowed to never touch that wire crap again. Welp... vow didn't last long... I wired these babies up and kissed my fingers goodbye.

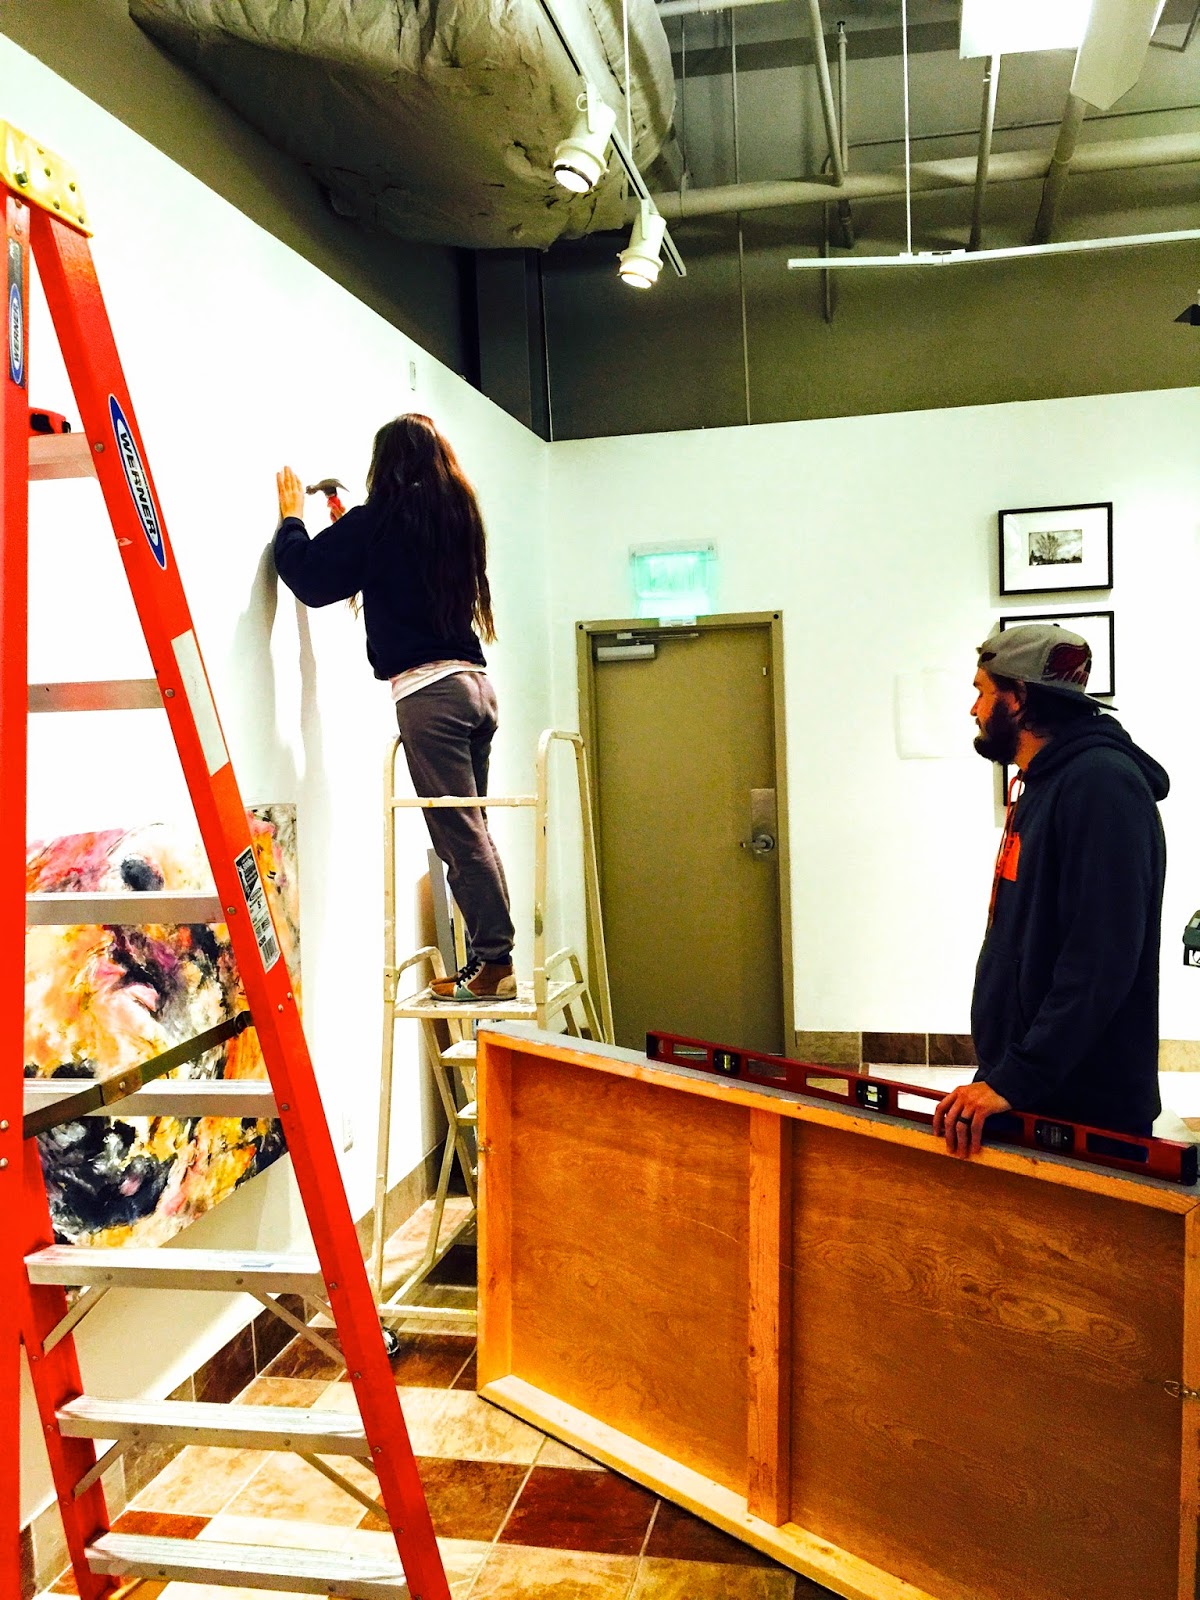
Once I was all done it was finally time to take them to their new home for the next month and a half, the Woodbury Art Museum. Hanging them was a bit of a pickle cause they are so large and in charge... but with the help of my handsome dude and his sis.. we busted it out.
hahaha... aaahhh... I need a nap.
See you soon my friends :) and soon as in this TUESDAY FROM 6-8 at the WOODBURY ART MUSEUM :)
